


Three-Kilo Raspberry Confiture with Star Anise
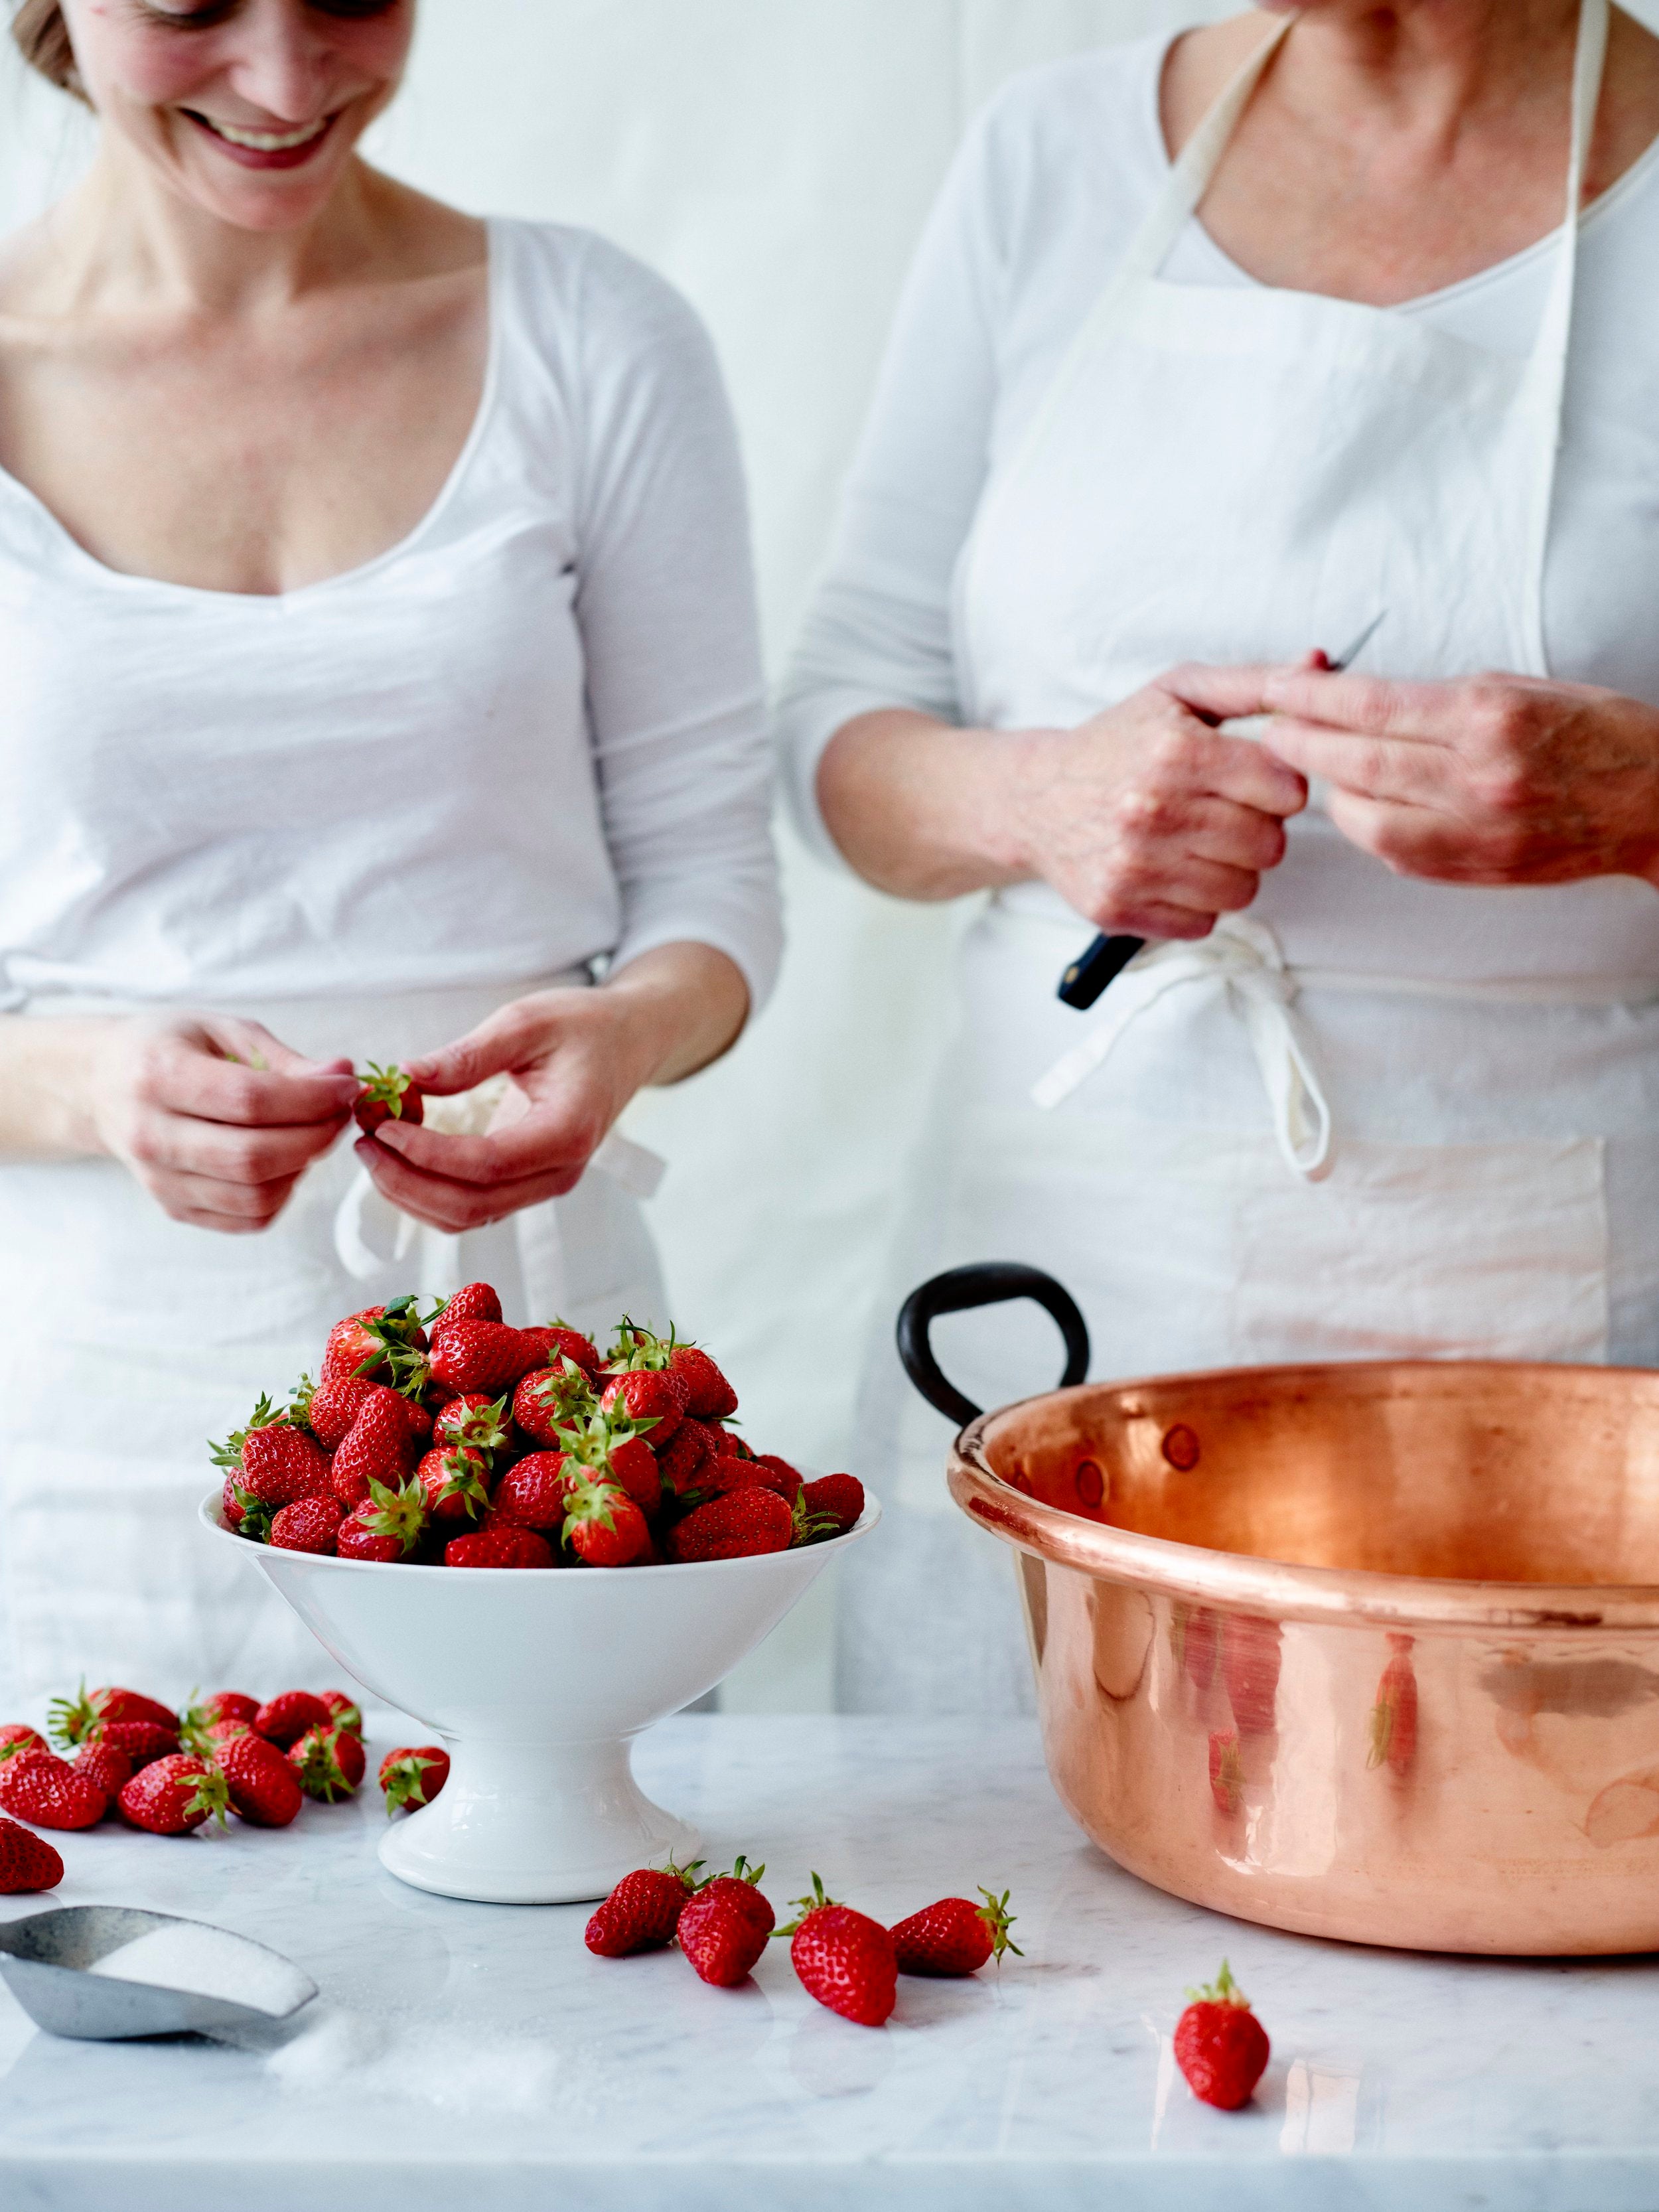
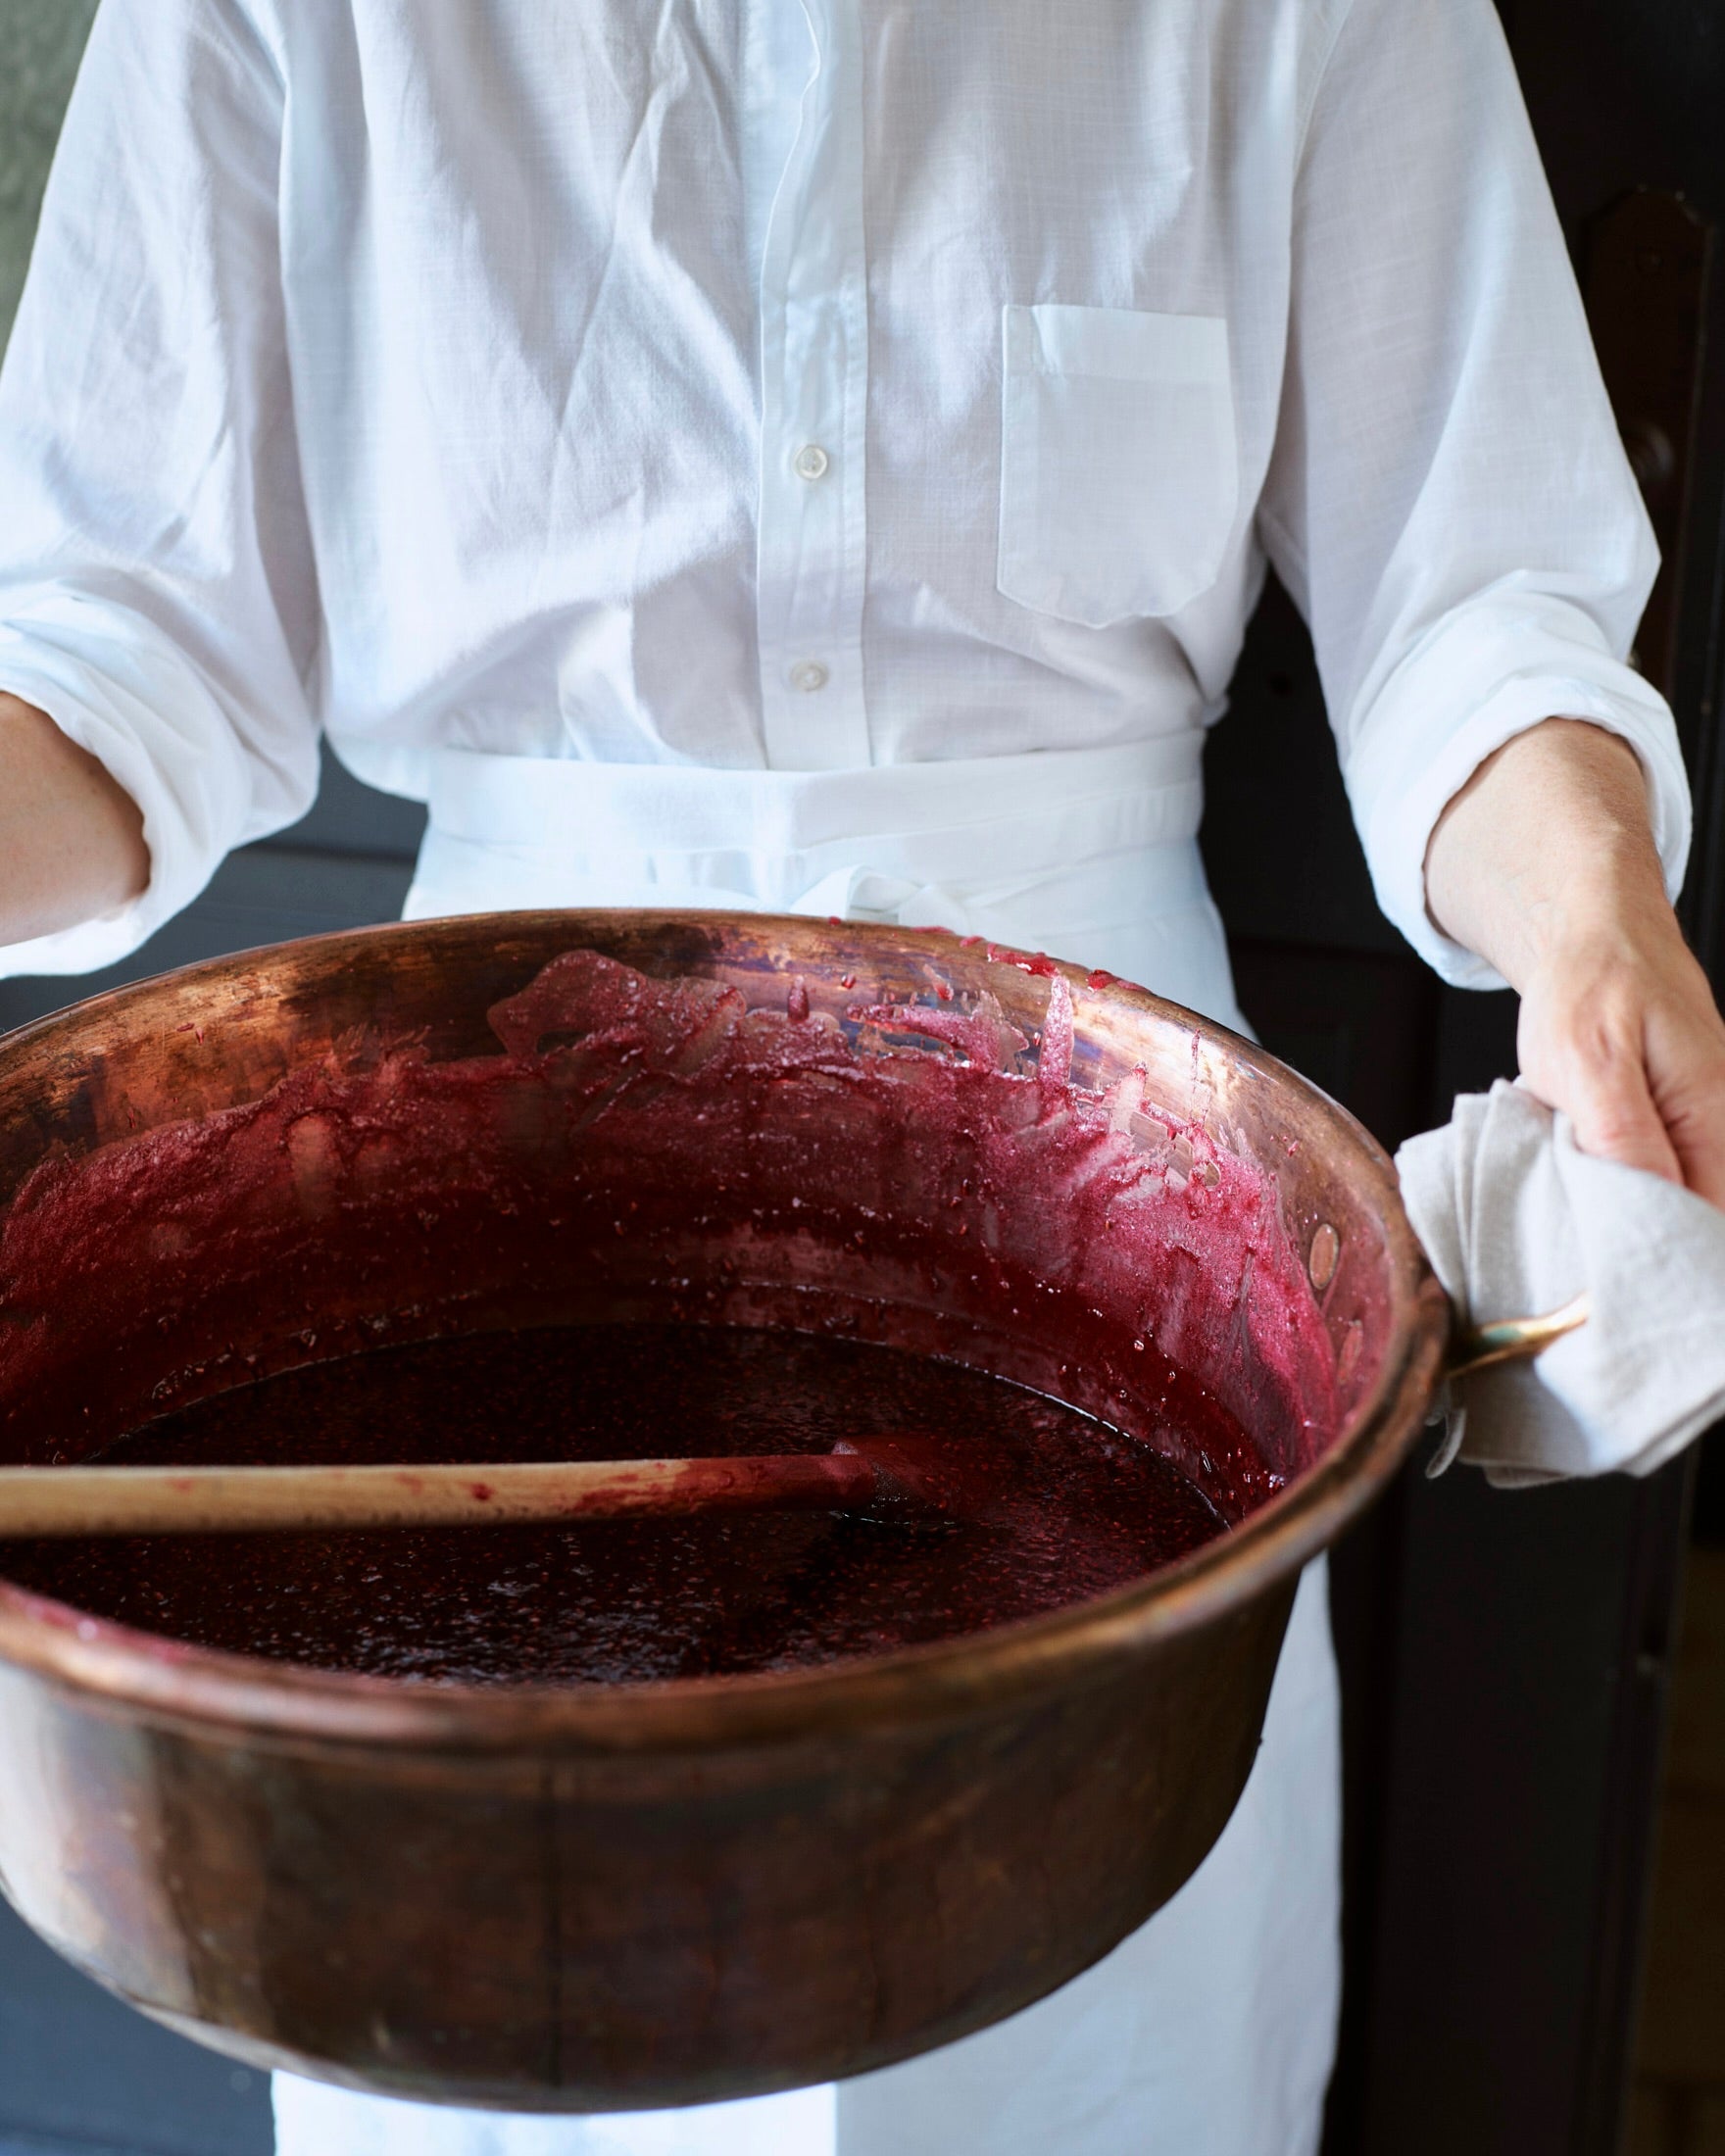
Sometimes it feels like we go through jam faster than water in our house. When we make it, we typically start with three kilograms of fruit, which makes about 16 half-pint jars. If we’re lucky, three full batches will get us through a winter at home, but since we love sharing our jam with friends and all our farmer’s market producers, we find ourselves making confiture all summer long (and even into the fall) to make sure we have plenty to give away. We love the process, the stirring, the jarring, the scent of warm fruit wafting through the house. As the fruit available changes from strawberries and raspberries to apricots, peaches, and plums to quince all the way in November, we tinker with the flavors we add, finding new favorites each year. This version, spiked with just enough fragrant star anise to give the jam a bit of intrigue, is a new staple. We don’t eat the star anise, but it looks pretty in each jar.
Ingredients
Makes sixteen ½-pint (250-ml) jars
- About 6½ pounds (3 kg) fresh raspberries
- 12 cups (2.4 kg) sugar
- Juice of 3 lemons
- 16 small whole star anise
Preparation
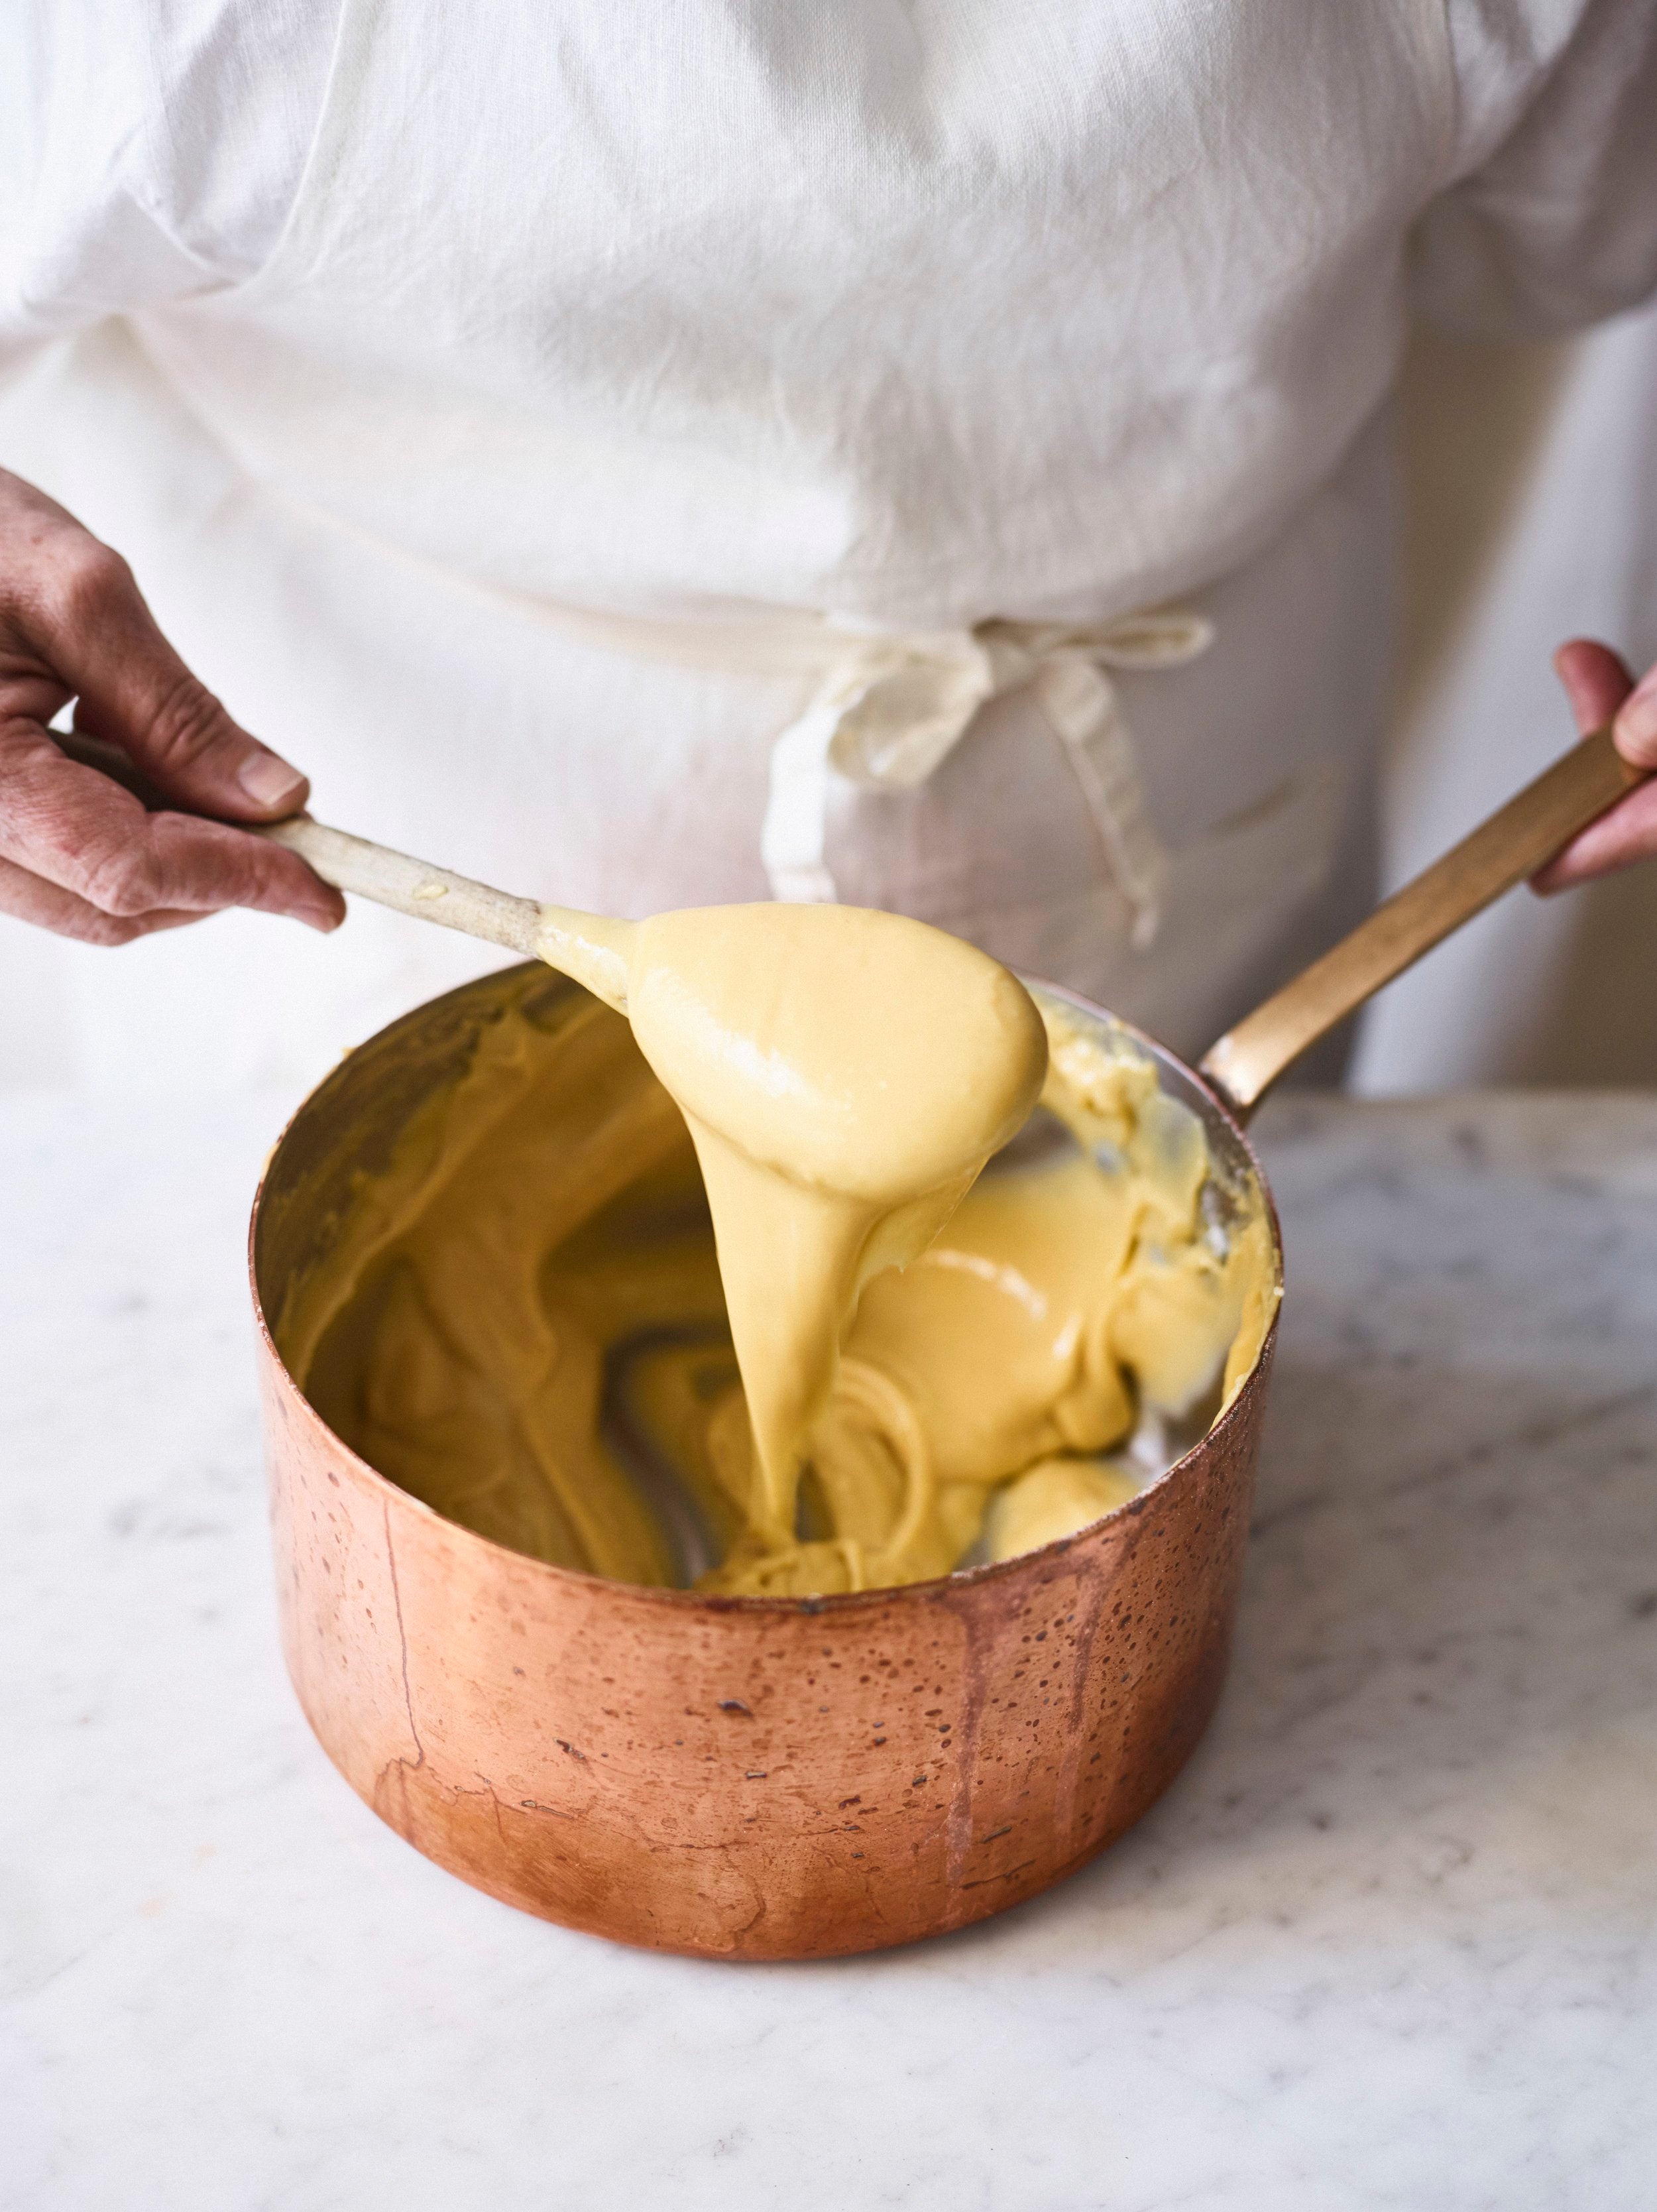
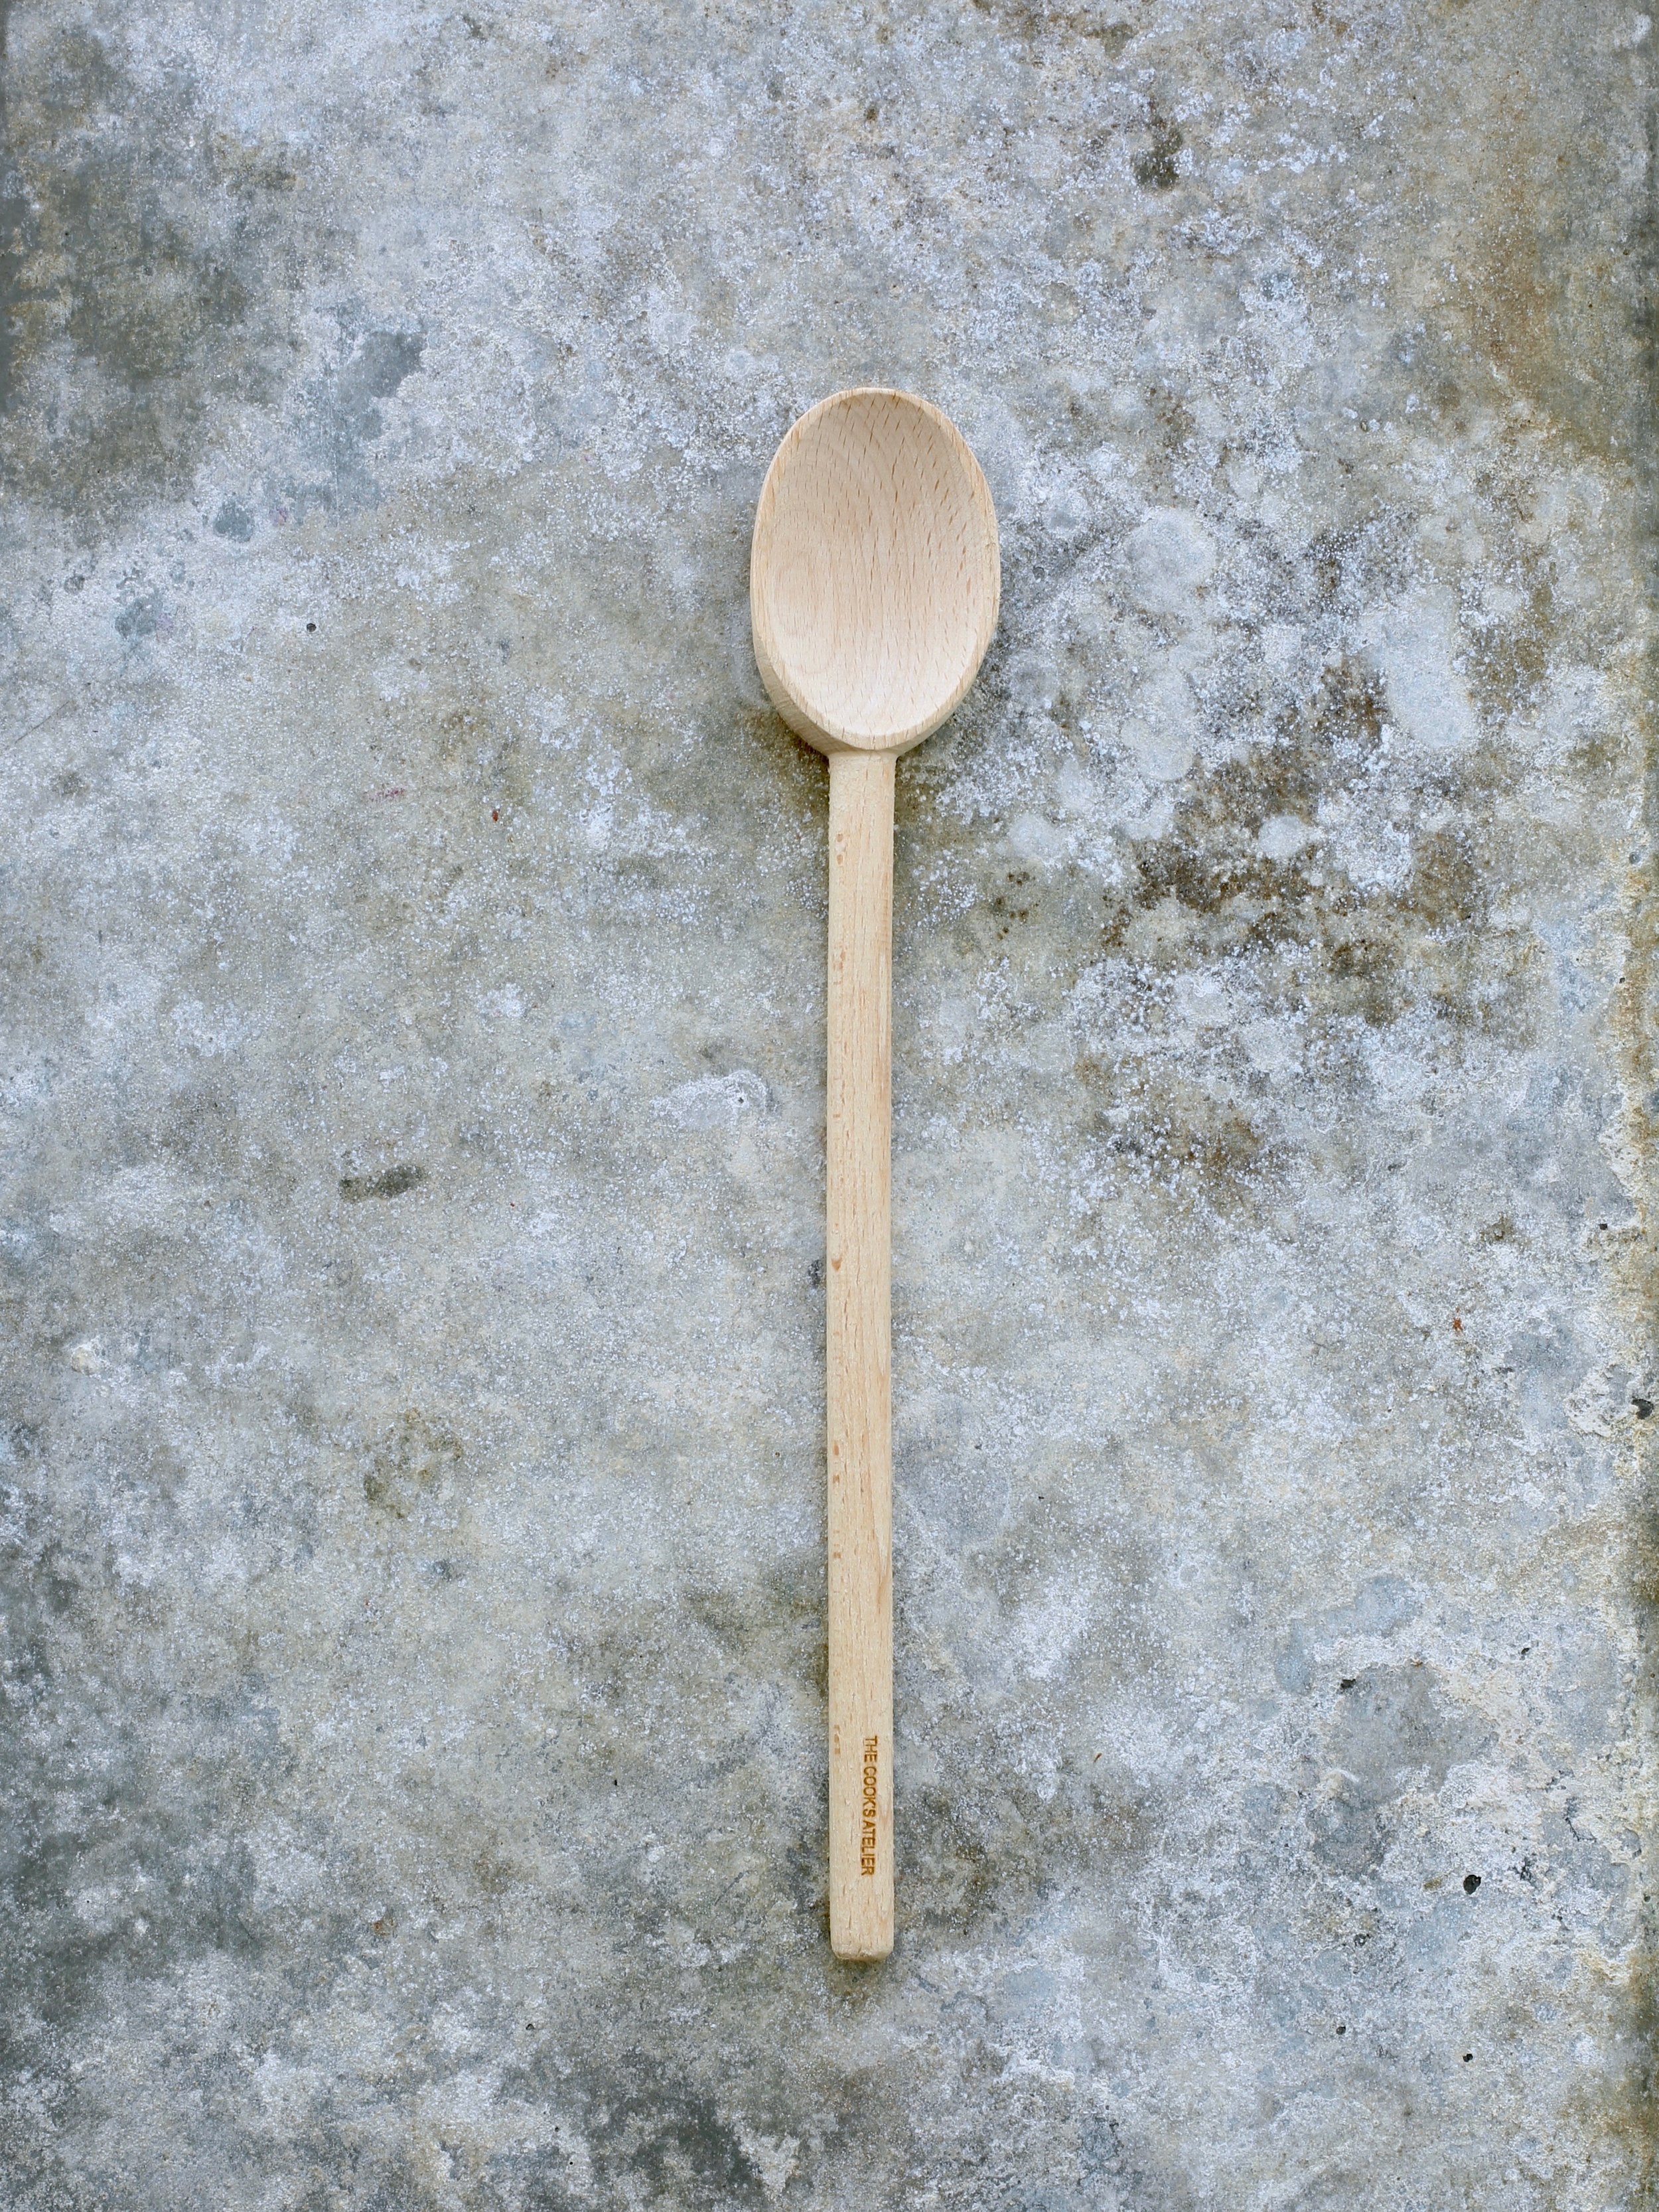
1. Sterilize sixteen ½-pint (250-ml) jars per the manufacturer’s instructions. In a large (roughly 13-quart / 12-L) jam pot, combine the raspberries, sugar, lemon juice and star anise. Place over high heat and cook, stirring constantly with a long wooden spoon as the sugar dissolves and the fruit begins to break down. As soon as the mixture comes to a boil, foam will begin to appear on the surface. Using a large stainless steel spoon, remove and discard the foam. Boil, skimming continually until the foaming subsides, 5 to 10 minutes. (Skimming ensures that the jam winds up bright and transparent, instead of cloudy.) As you’re stirring, periodically pick up the wooden spoon, hold it horizontally, and watch the liquid drip off. The jam is almost ready when two drips from the edge of the spoon come together along the spoon’ s edge to form a single stream of thick syrup. It’s important not to overcook the jam, as it will continue to thicken once it’s jarred and sealed. If you prefer a firm jam, wait until it gets to 221°F (105°C) when measured with a candy thermometer, but for a looser, more spreadable jam (which is what we prefer), turn off the heat once it reaches 215°F (102°C). The more you make jam, the better you’ll get at tinkering with the temperature to achieve the consistency you like best.
2. Place the sterilized jars on a clean, dry kitchen towel. Sterilize a ladle and jam funnel by submerging them in a pot of boiling water for a few seconds. Using the clean funnel, carefully ladle the hot jam into the jars, using one star anise per jar if you’d like, filling them up to ¼ inch (6 mm) below the rim. Wipe the lip of the jars with a clean, damp kitchen towel to ensure a proper seal. Seal the jars and let them cool overnight, then date them. Refrigerate and use within 2 weeks (see Note below for preparing shelf-stable jam).
Cooks’ Note: If you’d like to process the finished jam to make it shelf-stable, add as many jars as will fit to a large stockpot lined with a kitchen towel (this prevents the jars from rattling) and add water to cover. Bring the water to a boil over high heat and let boil for 15 minutes. Turn off the heat and let the jars cool in the water until you can comfortably remove the jars. Set the jars aside and repeat until all the jars are processed. Allow the jam to cool overnight, then check the seals, date, and store. (We put any unsealed jars in the fridge and eat that jam first.)
Notes
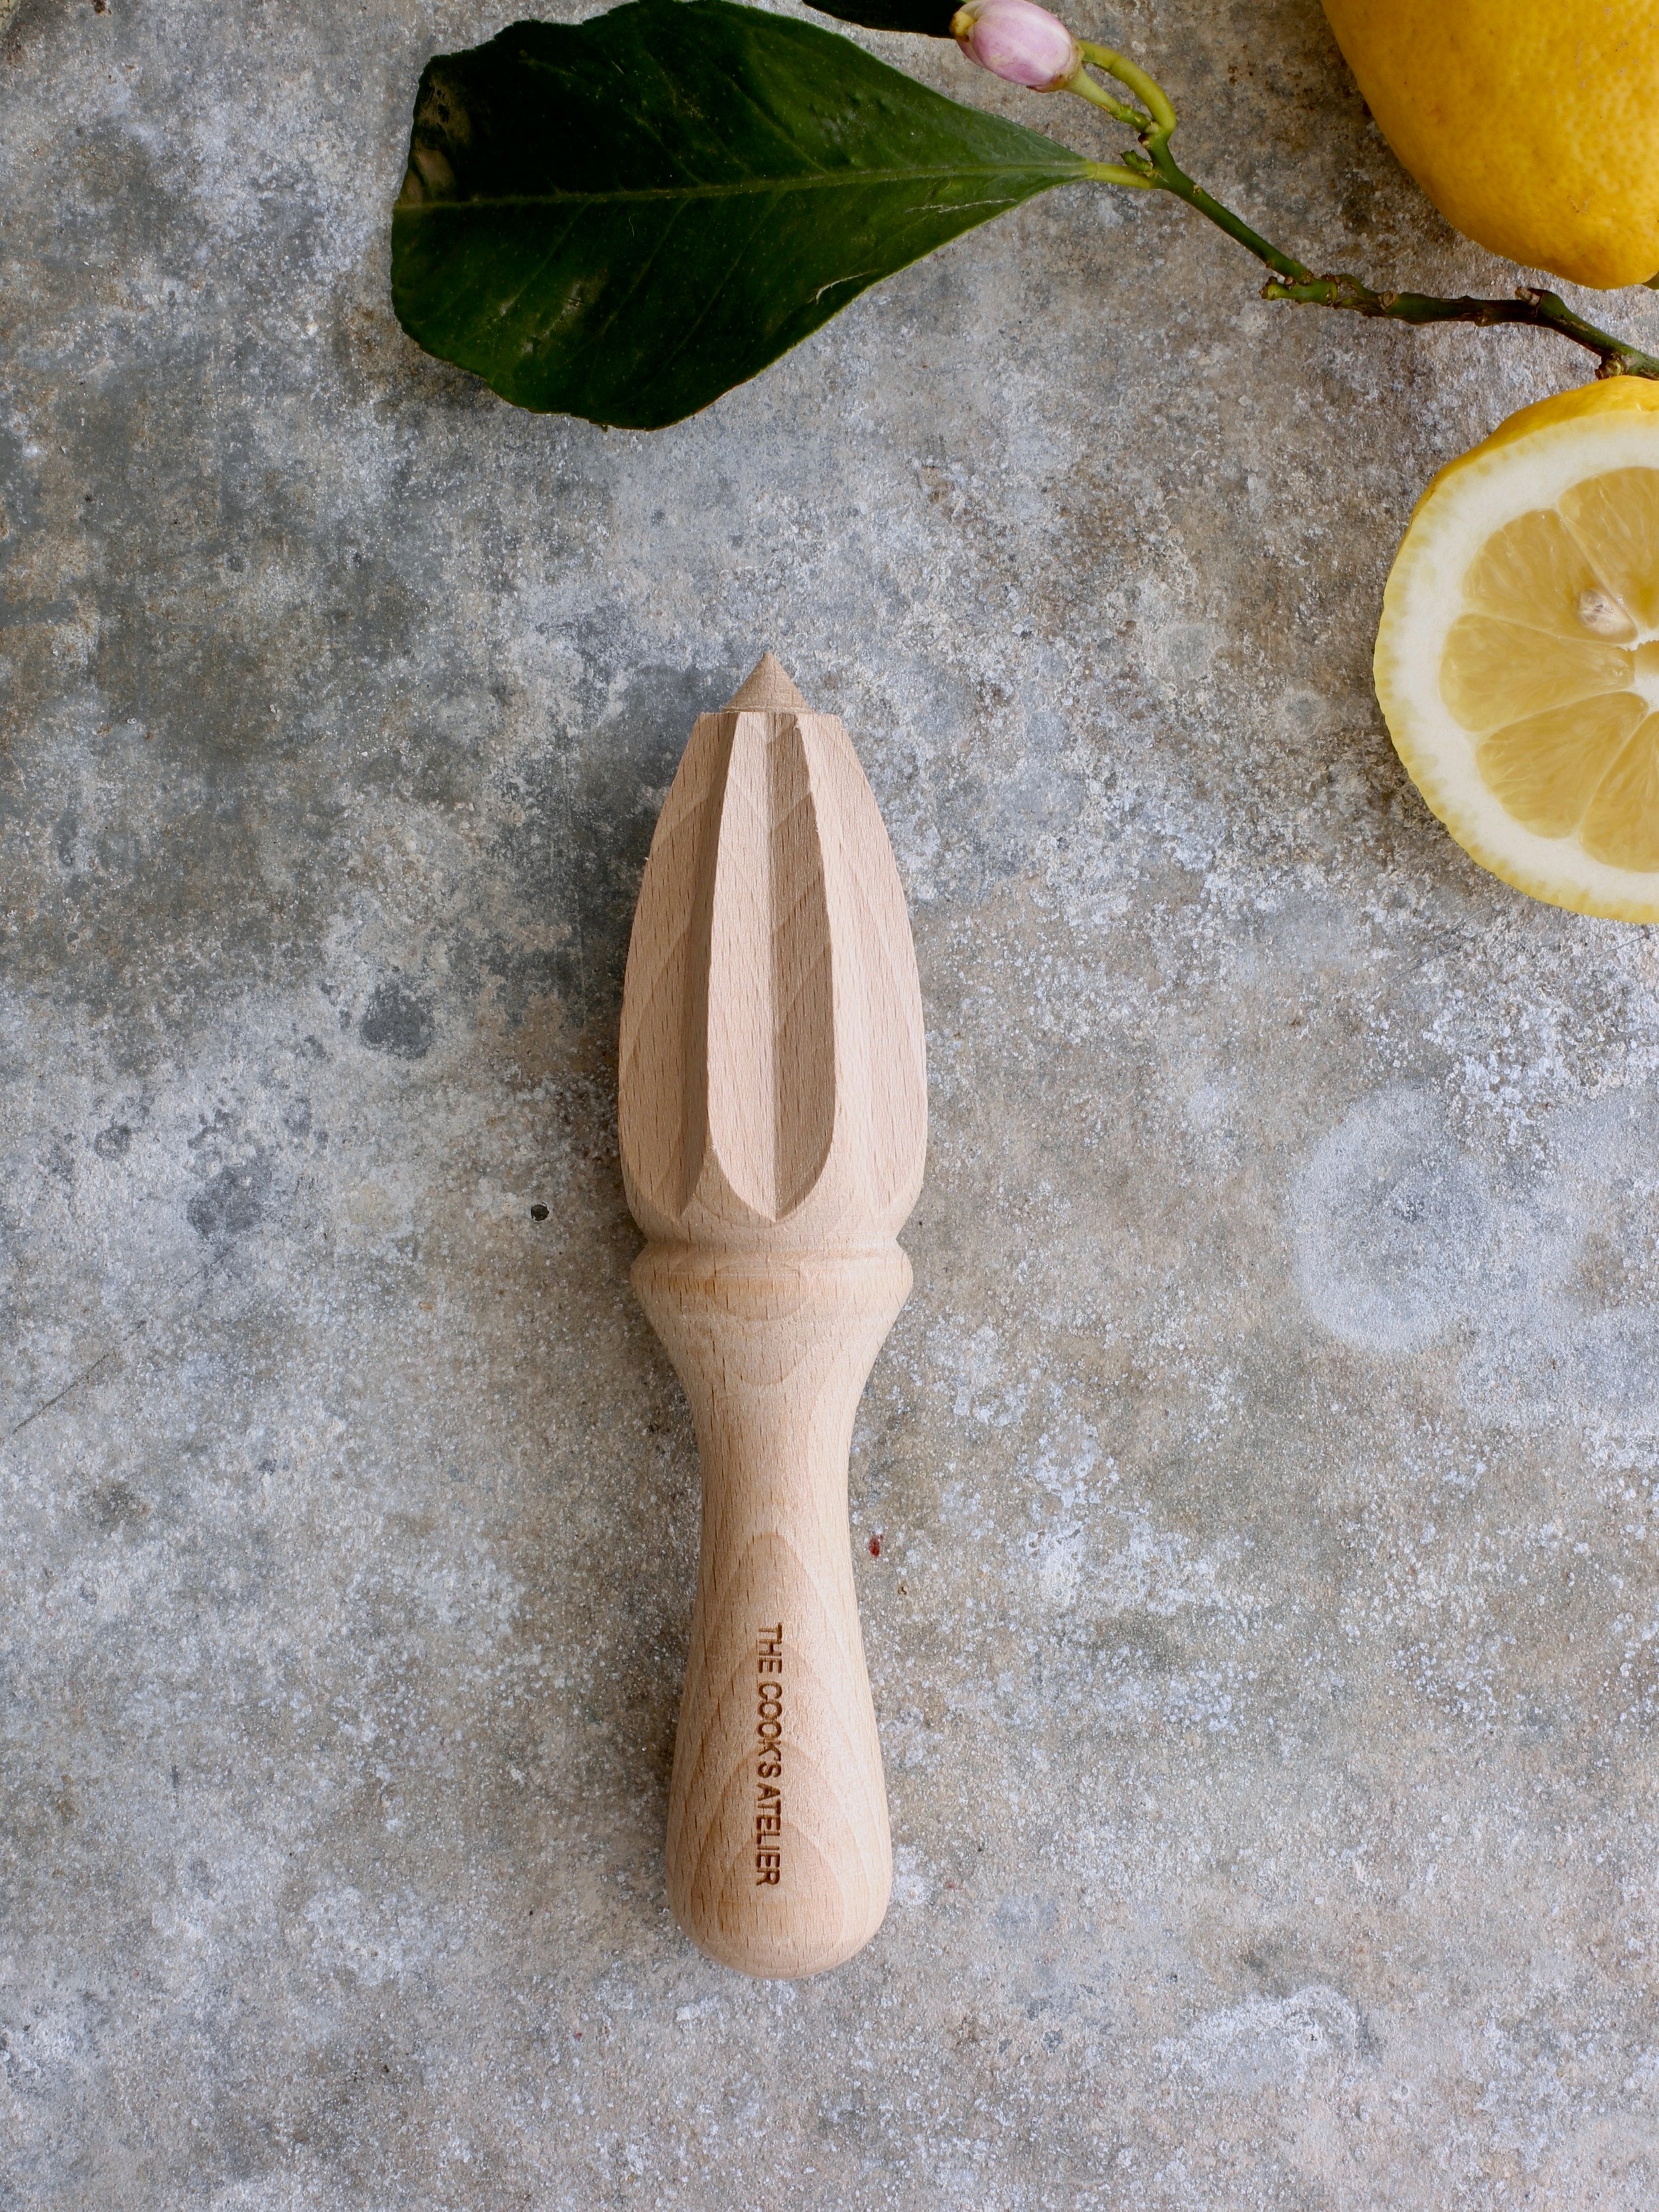
Equipment